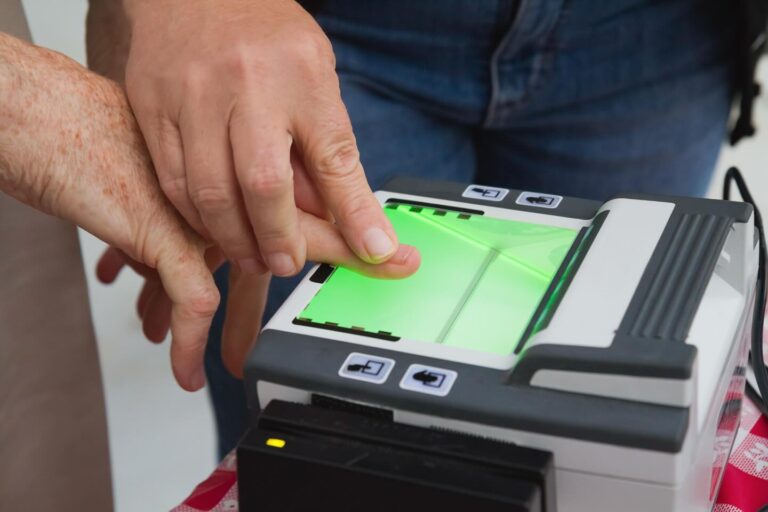
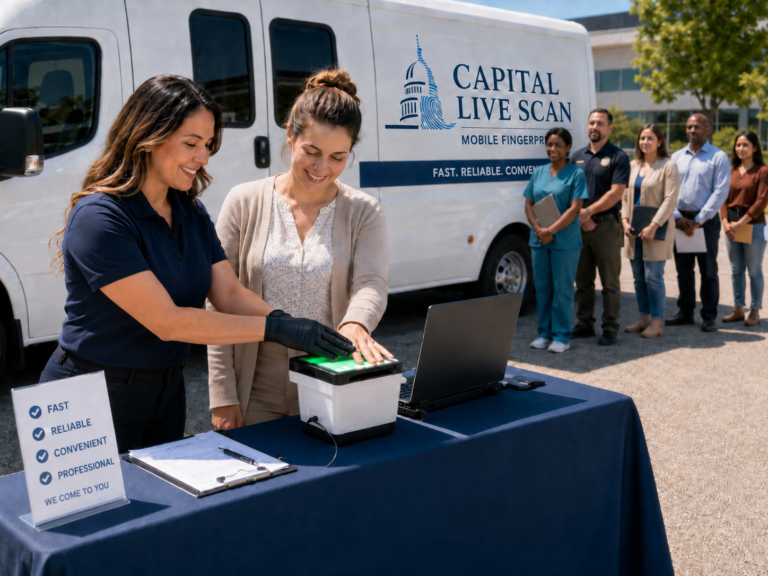


"We’ve partnered with Capital Live Scan for over 15 years, and their Live Scan service has always been outstanding. Their mobile team makes fingerprinting fast and convenient for our staff and volunteers across the state. The prepaid code system is a huge time-saver and makes coordination easy. They’re reliable, professional, and always go the extra mile—we truly value the partnership."
We’re proud to have served Visions In Education for many years through our Live Scan fingerprinting service. Their continued trust is a testament to the accuracy, efficiency, and professionalism we bring to every appointment.
We’re honored to provide mobile Live Scan fingerprinting for all new hires at SMUD, helping streamline their onboarding process with convenient, on-site service.
We’re proud to partner with the California Department of Insurance to provide statewide Live Scan fingerprinting services for all employees and licensees, ensuring a smooth and compliant process across the state.